Hi everyone!! One of my challenges this year is to make something using a talent you have. My husband has so many talents that I thought it would be nice to show one of the projects he made recently. If you’re looking to brighten up a room or want to make something to sell, this DIY Light Up Bottle is a must to try.
*Note: This post contains affiliate links, so we may earn a small commission when you make a purchase through links on our site at no additional cost to you.
DIY LIGHT UP BOTTLE
Items you will need for this project:
- An Awesome Glass Bottle
- String of LED Fairy Lights (Battery or AC depending on access to outlets)
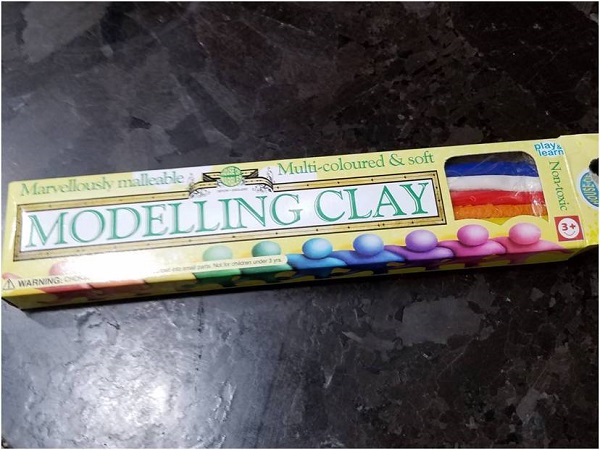
- Modelling Clay
- Drill Press or Hand Drill
- Diamond or Carbide Tipped Drill Bit
- Knife or Sharp Blade
- Tweezers (as long as you can find)
- Water
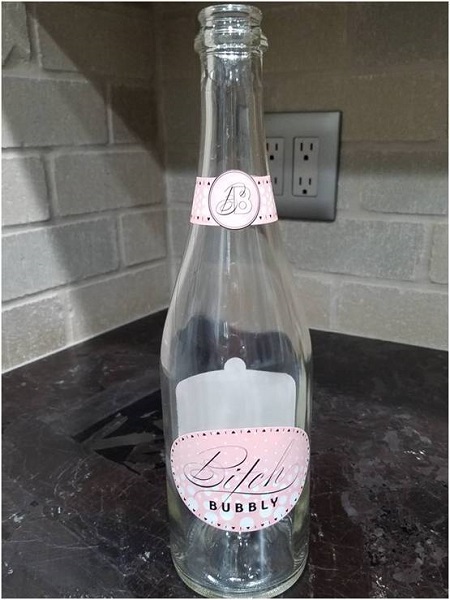
First of all, find a bottle with a catchy design or your favorite brand for this project. Scott’s sister gave us the one we used.
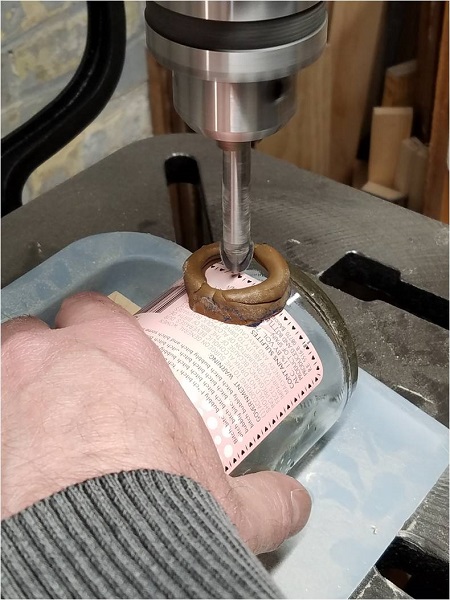
Next, take some modelling clay and use it to form a circle around the back of the bottle. Deeper is better but about a half inch is a good place to start. This will be used to keep water on the bit until you penetrate the glass wall. The water is important to reduce heat and friction to keep the bit sharp and not over heat the bottle to a point it cracks.
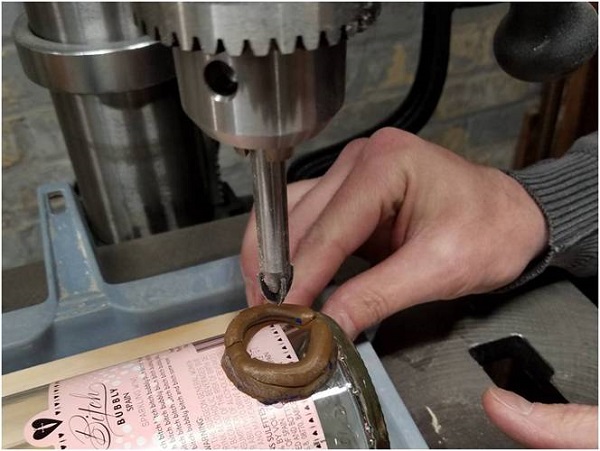
Use either a drill press or a hand drill for this project. In this case we used a drill press. Position the bottle centered under the drill press to drill straight into the glass wall. It is important to support the bottle so it does not roll or move and since my husband didn’t have a fixture made to hold the bottle, he use a rubber dust pan to keep it from rolling on the drill press table.
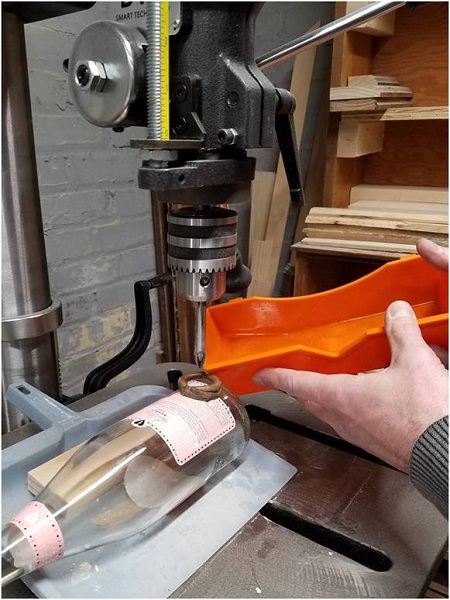
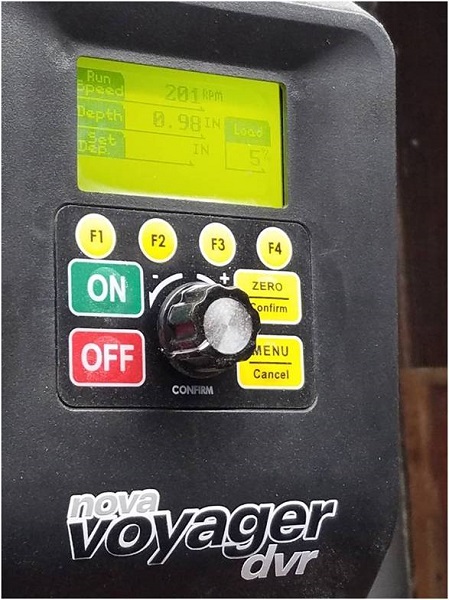
If you use a drill press, set the speed to about 200 RPM. A slower speed is better for drilling glass as it will not generate as much heat.
Fill the circle of modelling clay with water. Slowly make contact by lowering the drill bit to the surface of the bottle. Don’t apply excess pressure because the glass could crack or the bottle might move. Keep even steady pressure and let the drill bit cut through the glass.
After some time the water will start to look cloudy. This is because the bit is cutting glass and is normal. Once the drill breaks through the glass, the water will leak into the bottle. Keep drilling until you break through completely and remember not to force the bit as the water is now gone but you are only cutting the hole bigger and will be fine to cut dry.
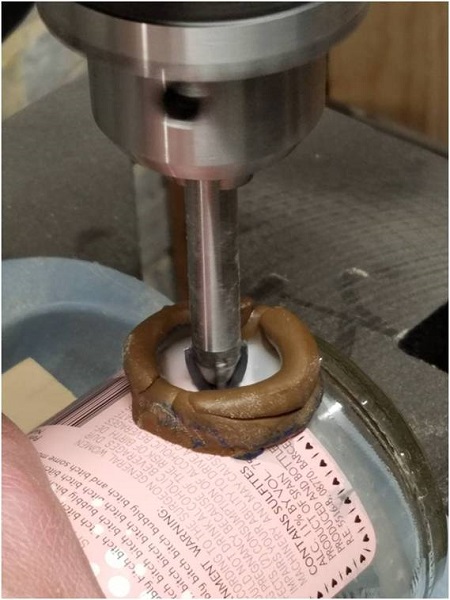
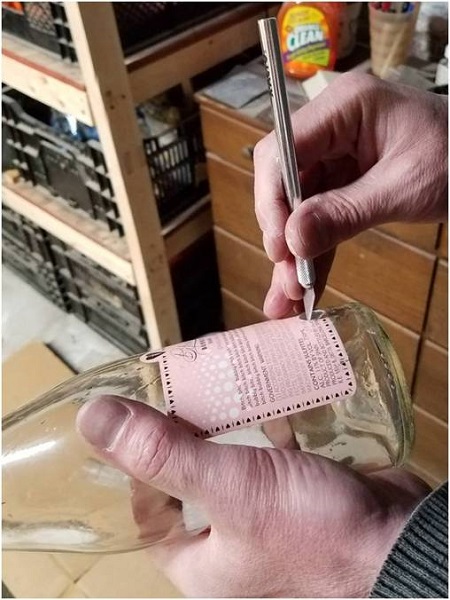
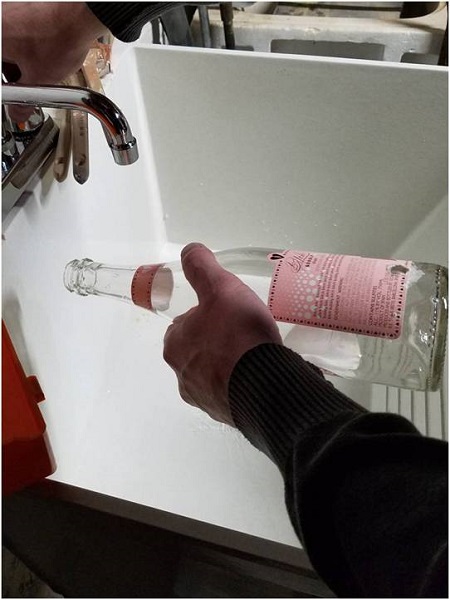
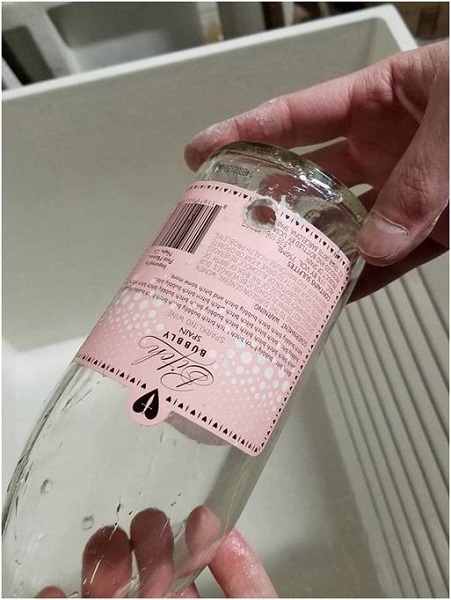
Once the hole is completely drilled, remove the modelling clay and wash out the inside of the bottle at the sink. If the label in back gets wet where the hole is, use a rag to clean it. Take either a knife or sharp blade and trim the paper off around the hole.
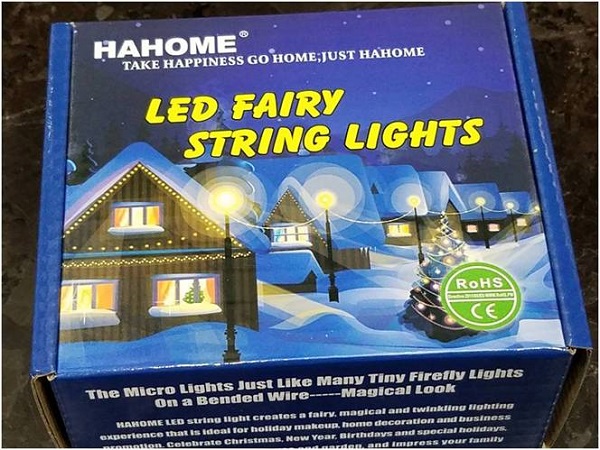
We used LED Fairy lights for this project.
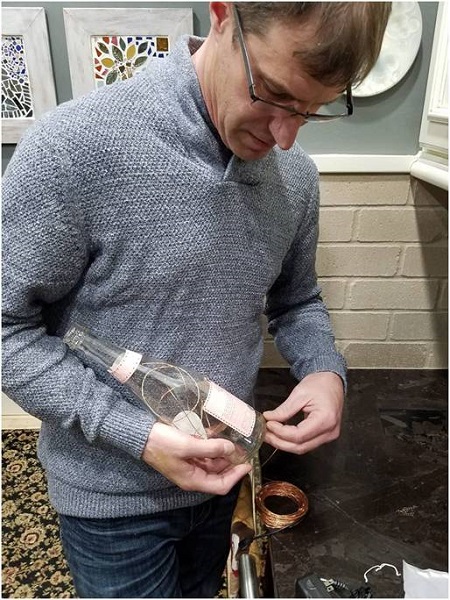
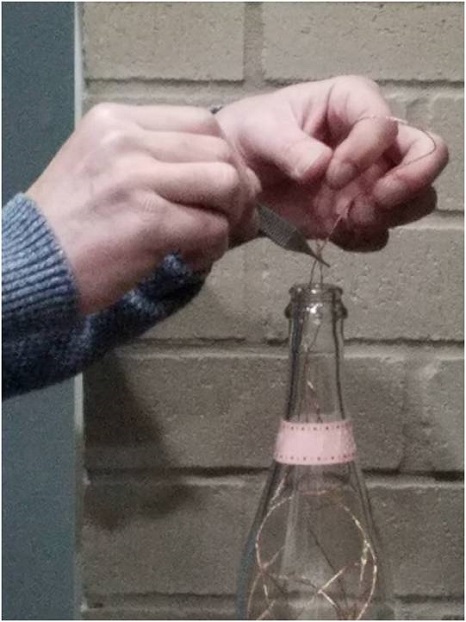
Push the lights through the hole in the back of the bottle. Take the front of the light string and push it up to the top of the bottle. The tweezers will help to get the light from the top. Reach in and grab the string then pull until there is a good amount of lights to push back down into the neck of the bottle. Push all the lights into the hole until you reach the end of the string. We used the kind of light you plug in since we had an outlet that is turned on or off by a wall switch. If you want this for outdoors or free standing in an area not near an electrical outlet then just use the battery type.
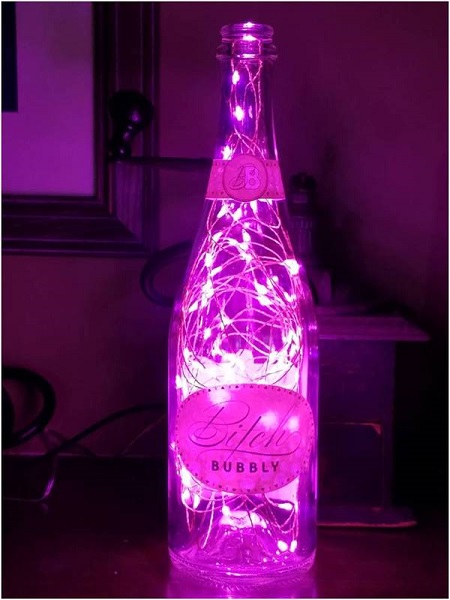
Finally, find a nice spot for your cute DIY Light Up Bottle and light it up!!
If you liked DIY Light Up Bottle, check out the DIY Tutorial Ideas page where you can find a variety of fun DIY projects you can do on a rainy day or if your looking to make a gift for someone.
Crayola
Crayola has a variety of different fun ideas to do!! You can print free coloring pages, pick from their DIY projects, or pick from their craft kits!! So many different options here.
